

Blog
A Step-by-Step Guide: How to Stitch Sew-On Patches on a Cap or Shirt Through an Embroidery Machine
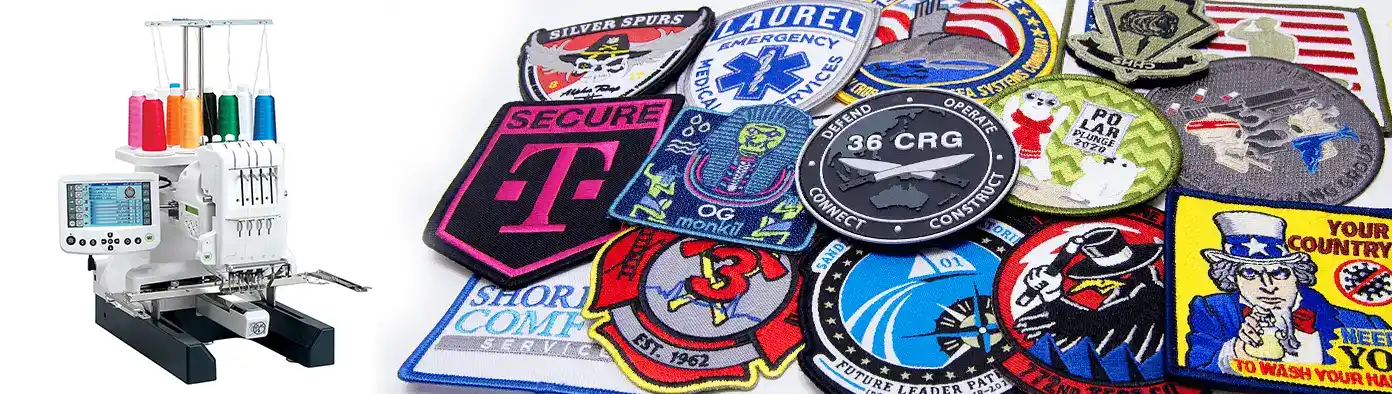
Embroidered patches add a touch of personality and style to clothing items like caps and shirts. While sewing them on manually can be time-consuming, using an embroidery machine streamlines the process, ensuring precise stitching and professional results. In this guide, we’ll walk you through the step-by-step process of stitching sew-on patches onto a cap or shirt using an embroidery machine.
Step 1: Gather Your Materials
Before you begin, gather all the materials you’ll need for the project. This includes:
- Sew-on patches of your choice
- Caps or shirts to embellish
- Embroidery machine with appropriate attachments
- Stabilizer suitable for the fabric of your cap or shirt
- Thread matching the color of your patches
- Fabric marking pen or tailor’s chalk
- Pins/Clips or Glue Spray to secure the patches in place
Step 2: Prepare Your Fabric and Stabilizer
To ensure smooth stitching, it’s essential to prepare your fabric and stabilizer properly. Start by hooping the stabilizer, making sure it’s taut and flat within the hoop. Next, mark the placement of your patches on the fabric using a fabric marking pen or tailor’s chalk. Take care to position the patches evenly and precisely according to your design.
Step 3: Secure the Fabric in the Hoop
Once you’ve marked the placement of your patches, it’s time to secure the fabric in the hoop. Place the hooped stabilizer and fabric onto the embroidery machine, ensuring that the marked areas align with the needle. Also, you can use embroidery machine to takedown pattern based on the size and shape of your patches for marking the area for placing patches.
Step 4: Position and Secure the Patches
Before you begin stitching, position the sew-on patches onto the marked areas of the fabric. Use pins/clips or glue spray to secure the patches in place, ensuring they don’t shift during the embroidery process. Double-check the alignment and placement to avoid any misalignment issues later on. We recommended use Glue Spray taking patches in place.
Step 5: Set Up Your Embroidery Machine
Now it’s time to set up your embroidery machine for stitching. Choose the appropriate embroidery design or pattern based on the size and shape of your patches. Adjust the machine settings, including thread tension, stitch length, and needle position, to achieve optimal results.
Step 6: Stitch the Patches
With everything in place, start the embroidery machine and begin stitching the patches onto the fabric. The machine will automatically follow the selected design, stitching around the edges of the patches with precision and accuracy. Take care to monitor the stitching process, ensuring that the needle doesn’t catch on the patches or fabric.
Step 7: Finishing Touches
Once the machine has completed stitching the patches, remove the fabric from the hoop and trim any excess stabilizer from the back. Carefully inspect the stitched patches for any loose threads or imperfections, and trim them as needed. Your cap or shirt is now ready to wear, adorned with professionally stitched sew-on patches!
By following these step-by-step instructions, you can easily stitch sew-on patches onto caps or shirts using an embroidery machine if you need custom embroidered patches for your cap & shirt. We are a Famous Embroidery providing top-notch quality custom patches in the US market at the best market competitive pricing.
Contact Us Today: Ready to elevate your style with custom patches made in the USA? Contact us today to discuss your project requirements and request a free quote. Whether you’re a business, organization, or individual looking to make a statement, we’re here to help you bring your vision to life with quality craftsmanship and exceptional service.